1. Type regedit in RUN or startmenu search box and press Enter. It’ll open Registry Editor.
2. Now go to following key:
HKEY_CLASSES_ROOT\CLSID\{F02C1A0D-BE21-4350-88B0-7367FC96EF3C}\ShellFolder
3. Now you’ll need to change value of "Attributes" DWORD value present in the right-side section. But Windows will not allow you to change its value as you won’t have proper permissions.
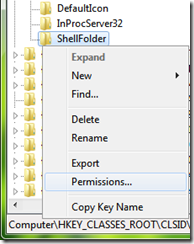
To get permissions, first right-click on "ShellFolder" key and select "Permissions".

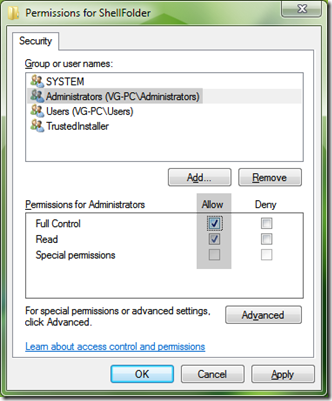
It’ll open a new window. Select "Administrators" in user list and check "Allow" box given for "Full Control" permission.

Click on OK button to apply the changes.
4. Now double-click on "Attributes" DWORD value given in right-side section and change its value to b0940064
5. That’s it. Log off or restart your system and "Network" will no longer present in Explorer window.
NOTE: If you want to restore "Network" in Navigation pane, simply change value of "Attributes" DWORD to b0040064 using step 4.
In my Windows 7 the key you refer to, in the above, does not exist – was it changed after you wrote the above?